Building a Skin-on-Frame Kayak (Qajaq)! Part 1
Tristan got the opportunity to do something he had been wanting to do for years... build a boat. He wanted to build a boat in a traditional way (no plywood construction, or fiberglass), using mainly hand tools. Tristan learned about the Greenland style Kayak, just one of many traditional styles of kayaks made by the people of the Artic in Canada, Alaska, and Greenland.
Using the book "Building the Greenland Kayak" by Christopher Cunningham, he step-by-step built a West Greenland style kayak! This is not a book of plans or measurements, it is a manual describing how to make the kayak using your body as the measuring tool. For example, it uses your body height, leg length, arm span and other body measurements as a basis for where ribs and deck beams are. This is how it traditionally was made, and it fits the builder like a glove.

image from amazon.ca

The frame lashed and dowelled together. No screws or metal fasteners were used.

Shaping and planing the gunwales.
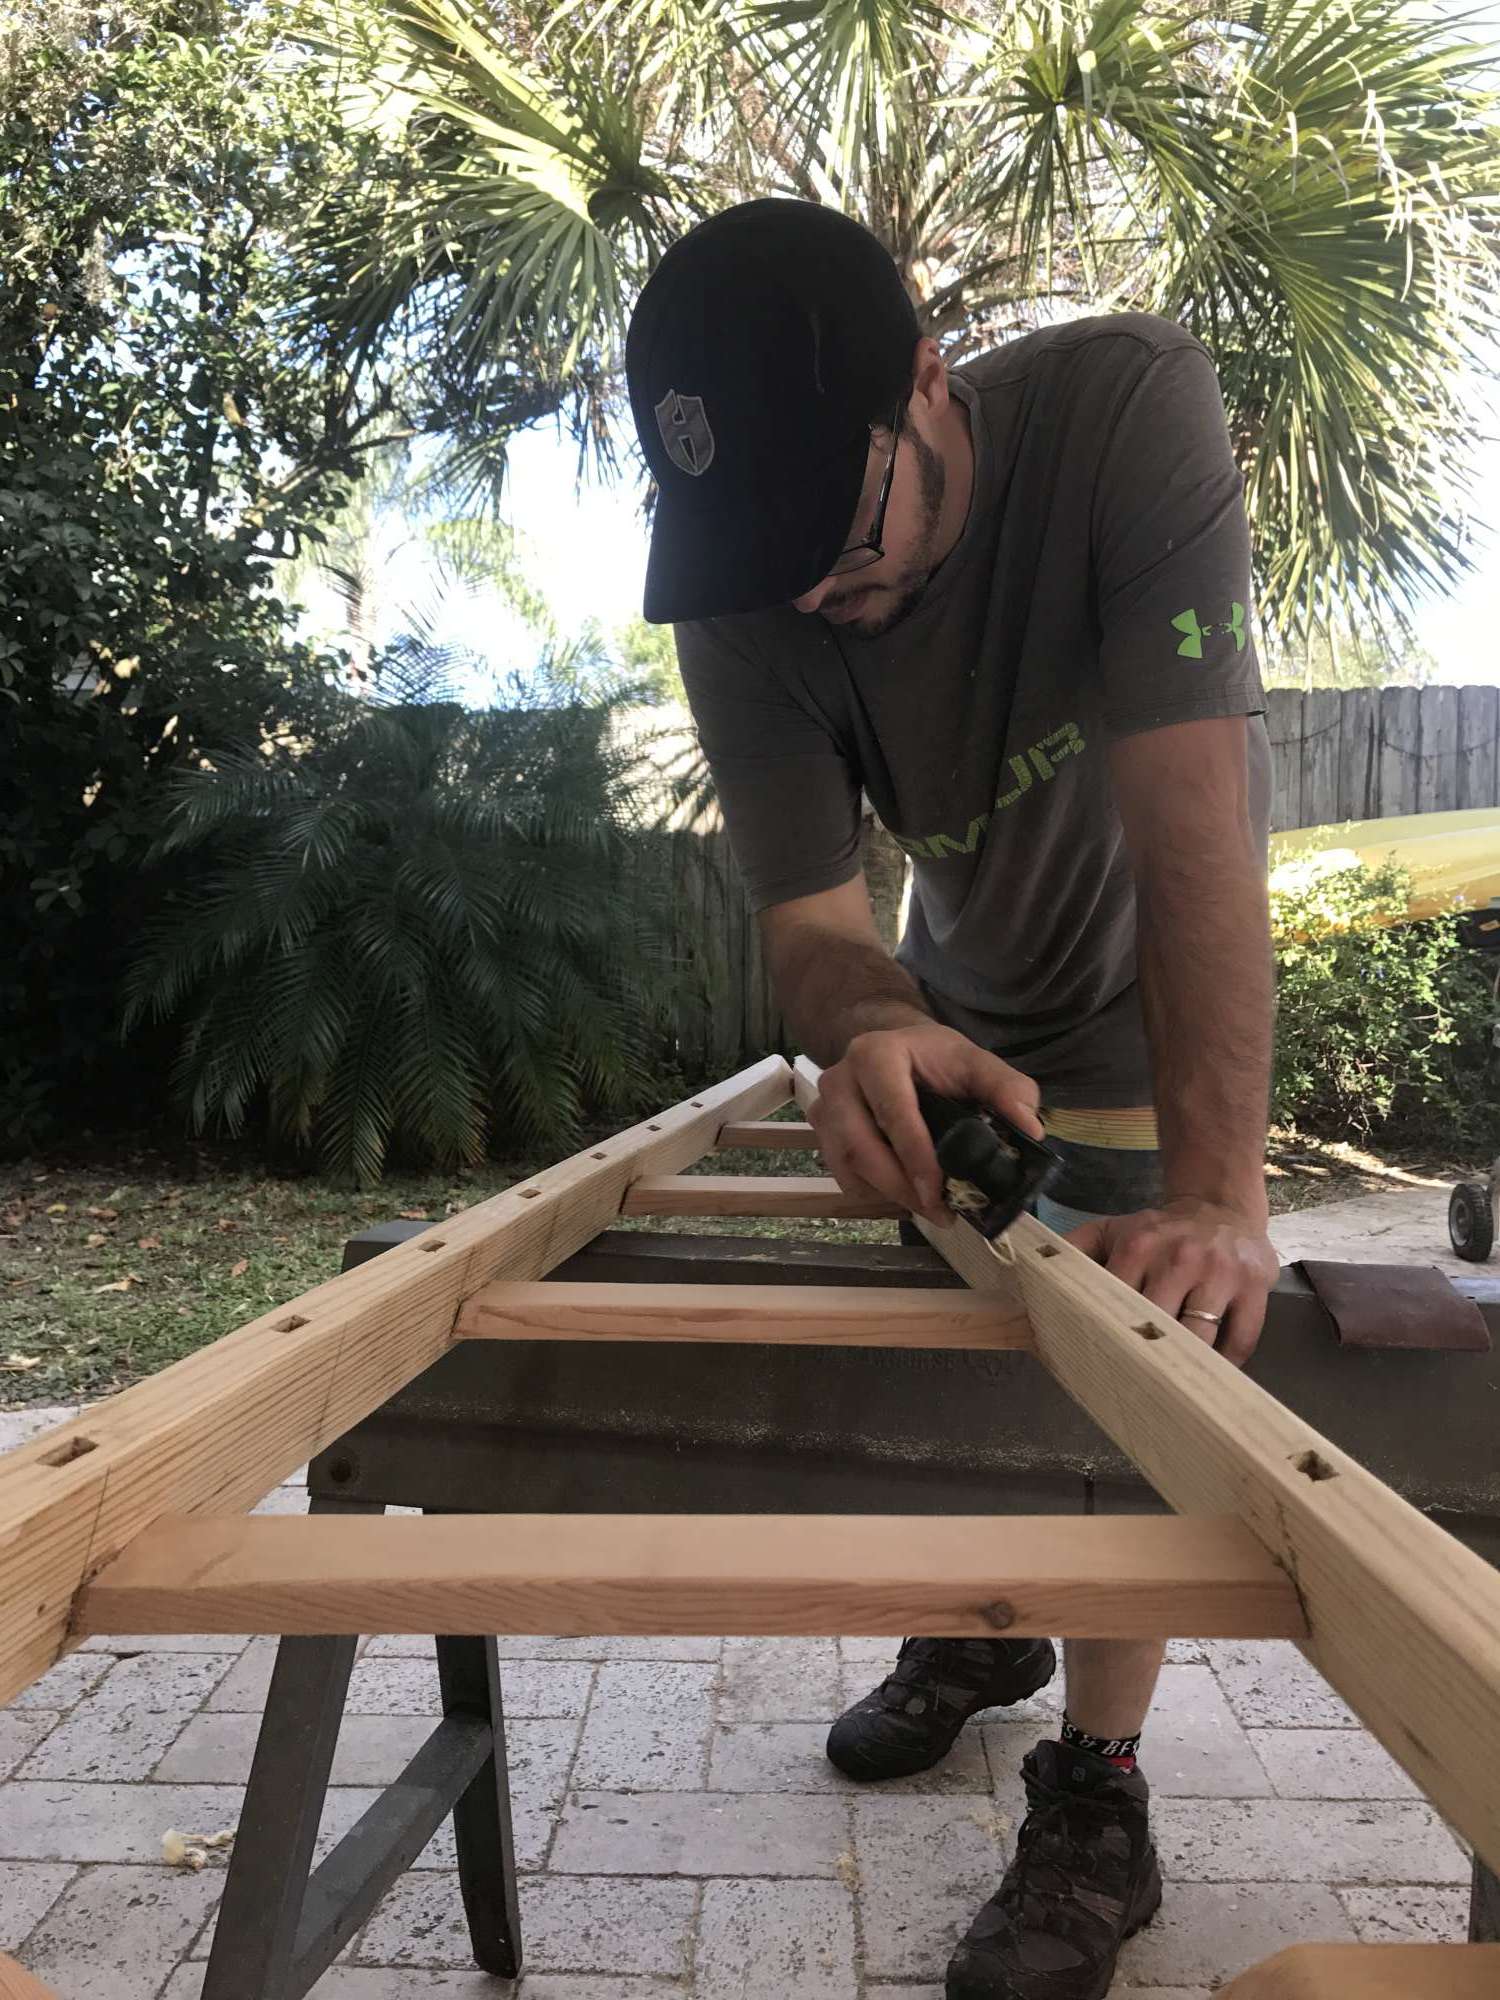
The underside of the kayak, you can see the holes where the ribs will go.

Sprout #4 helping Daddy!
Once the frame was lashed together and shaped, it was time to bend the ribs! Tristan used oak, and because we couldn't find 'green' oak or ash (green wood is much better for bending), he had to make do with oak from the store which is kiln dried. For this reason we soaked and boiled the oak ribs over an open fire and then bent them and placed them in the frame.
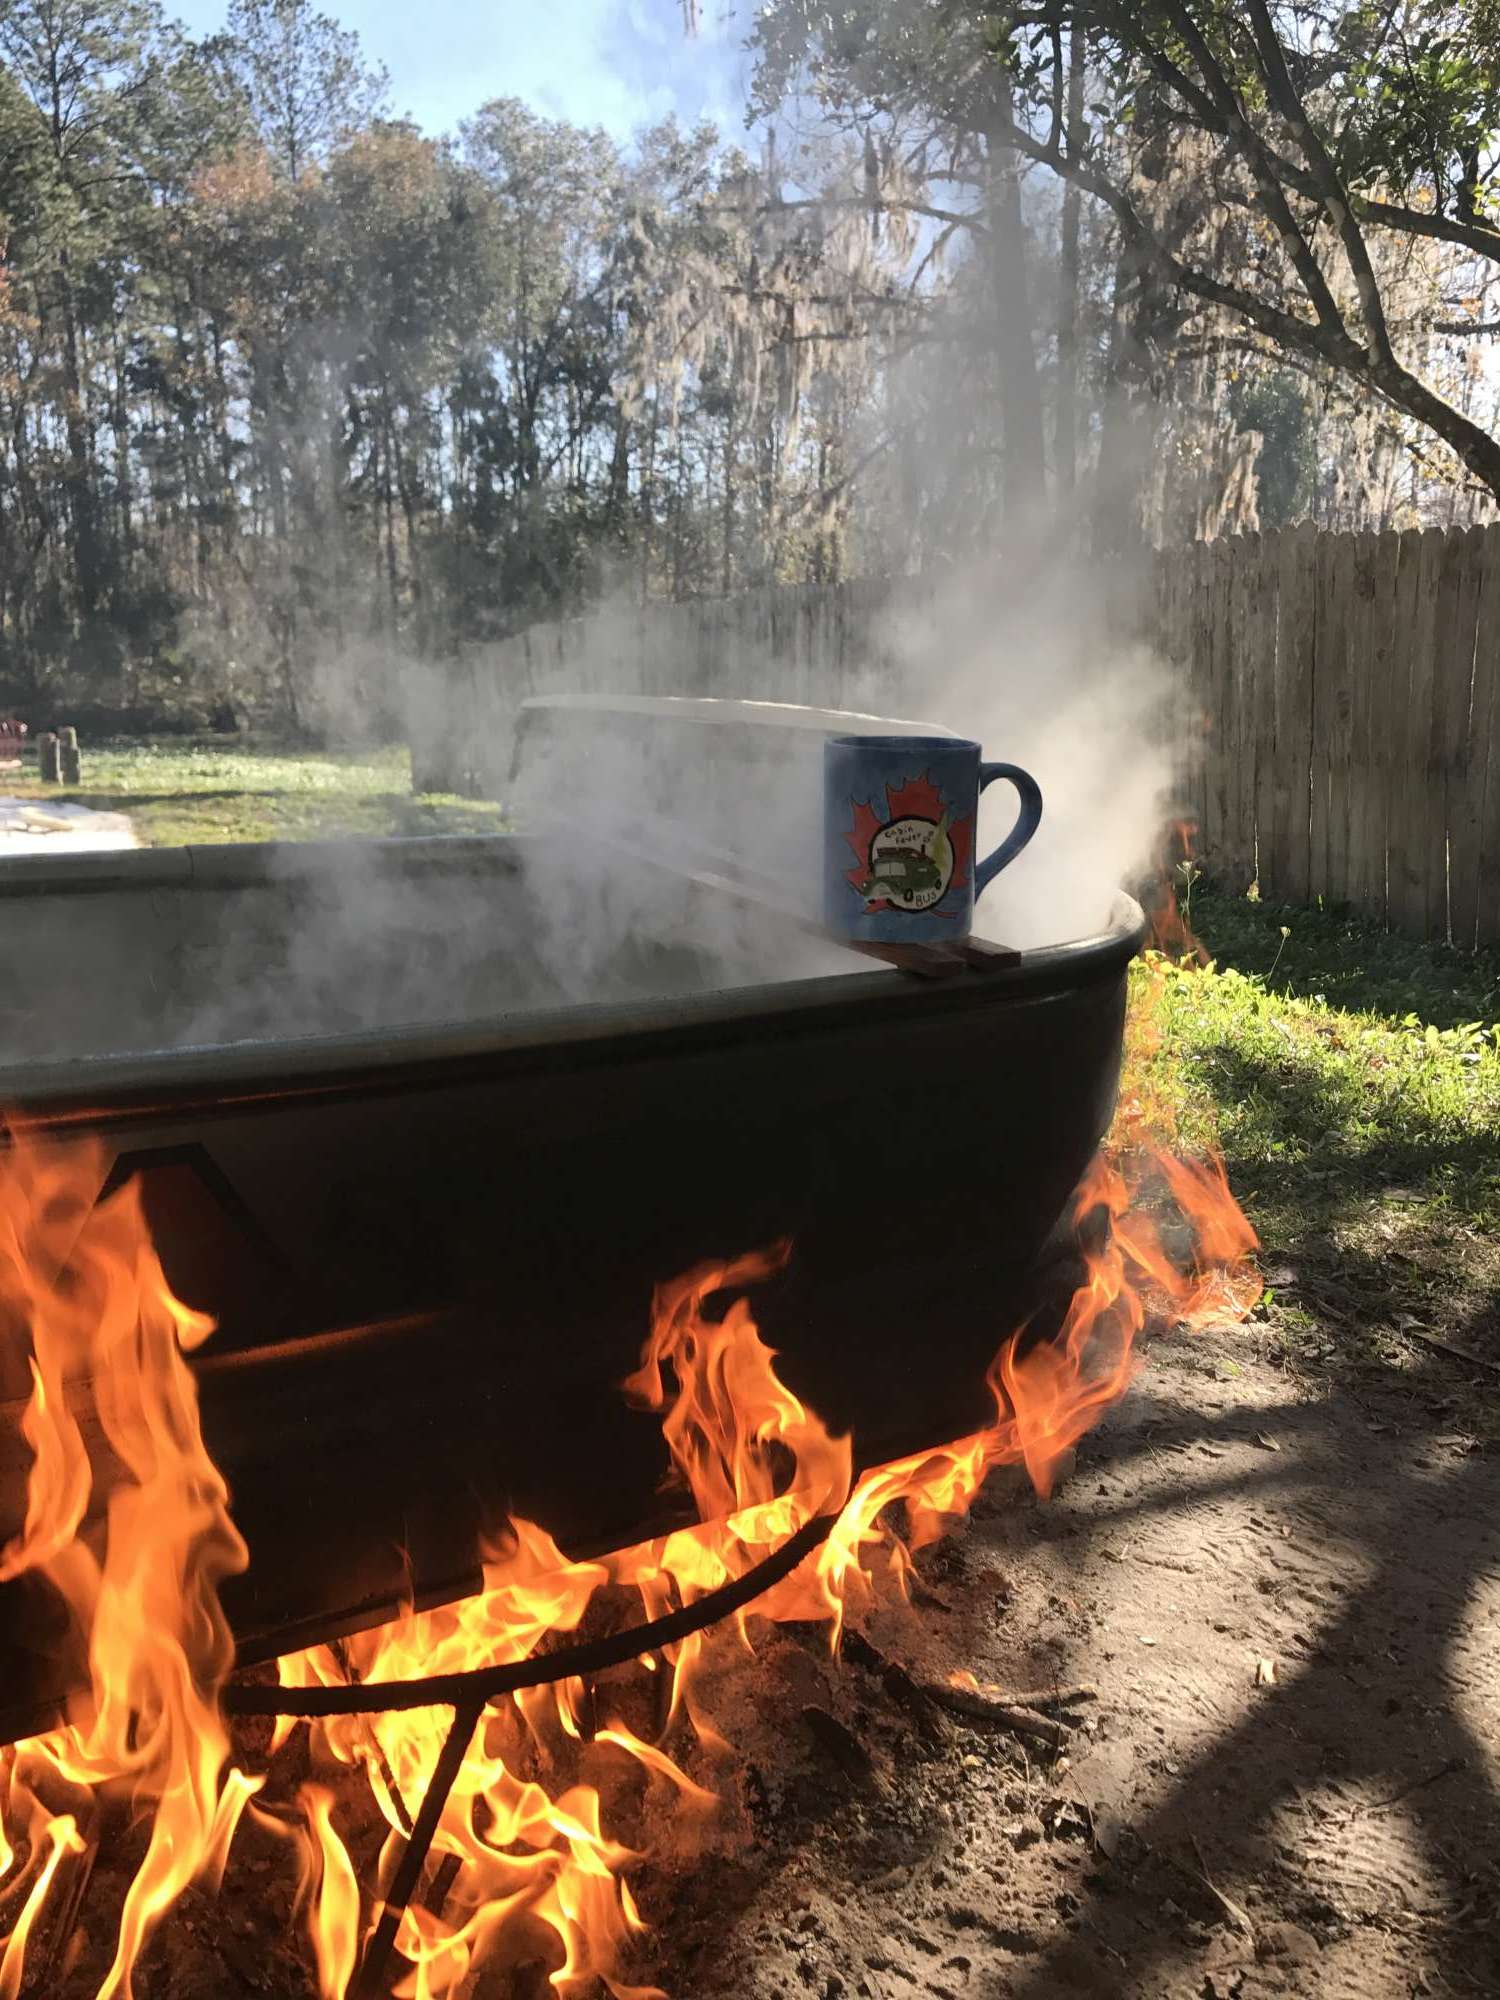
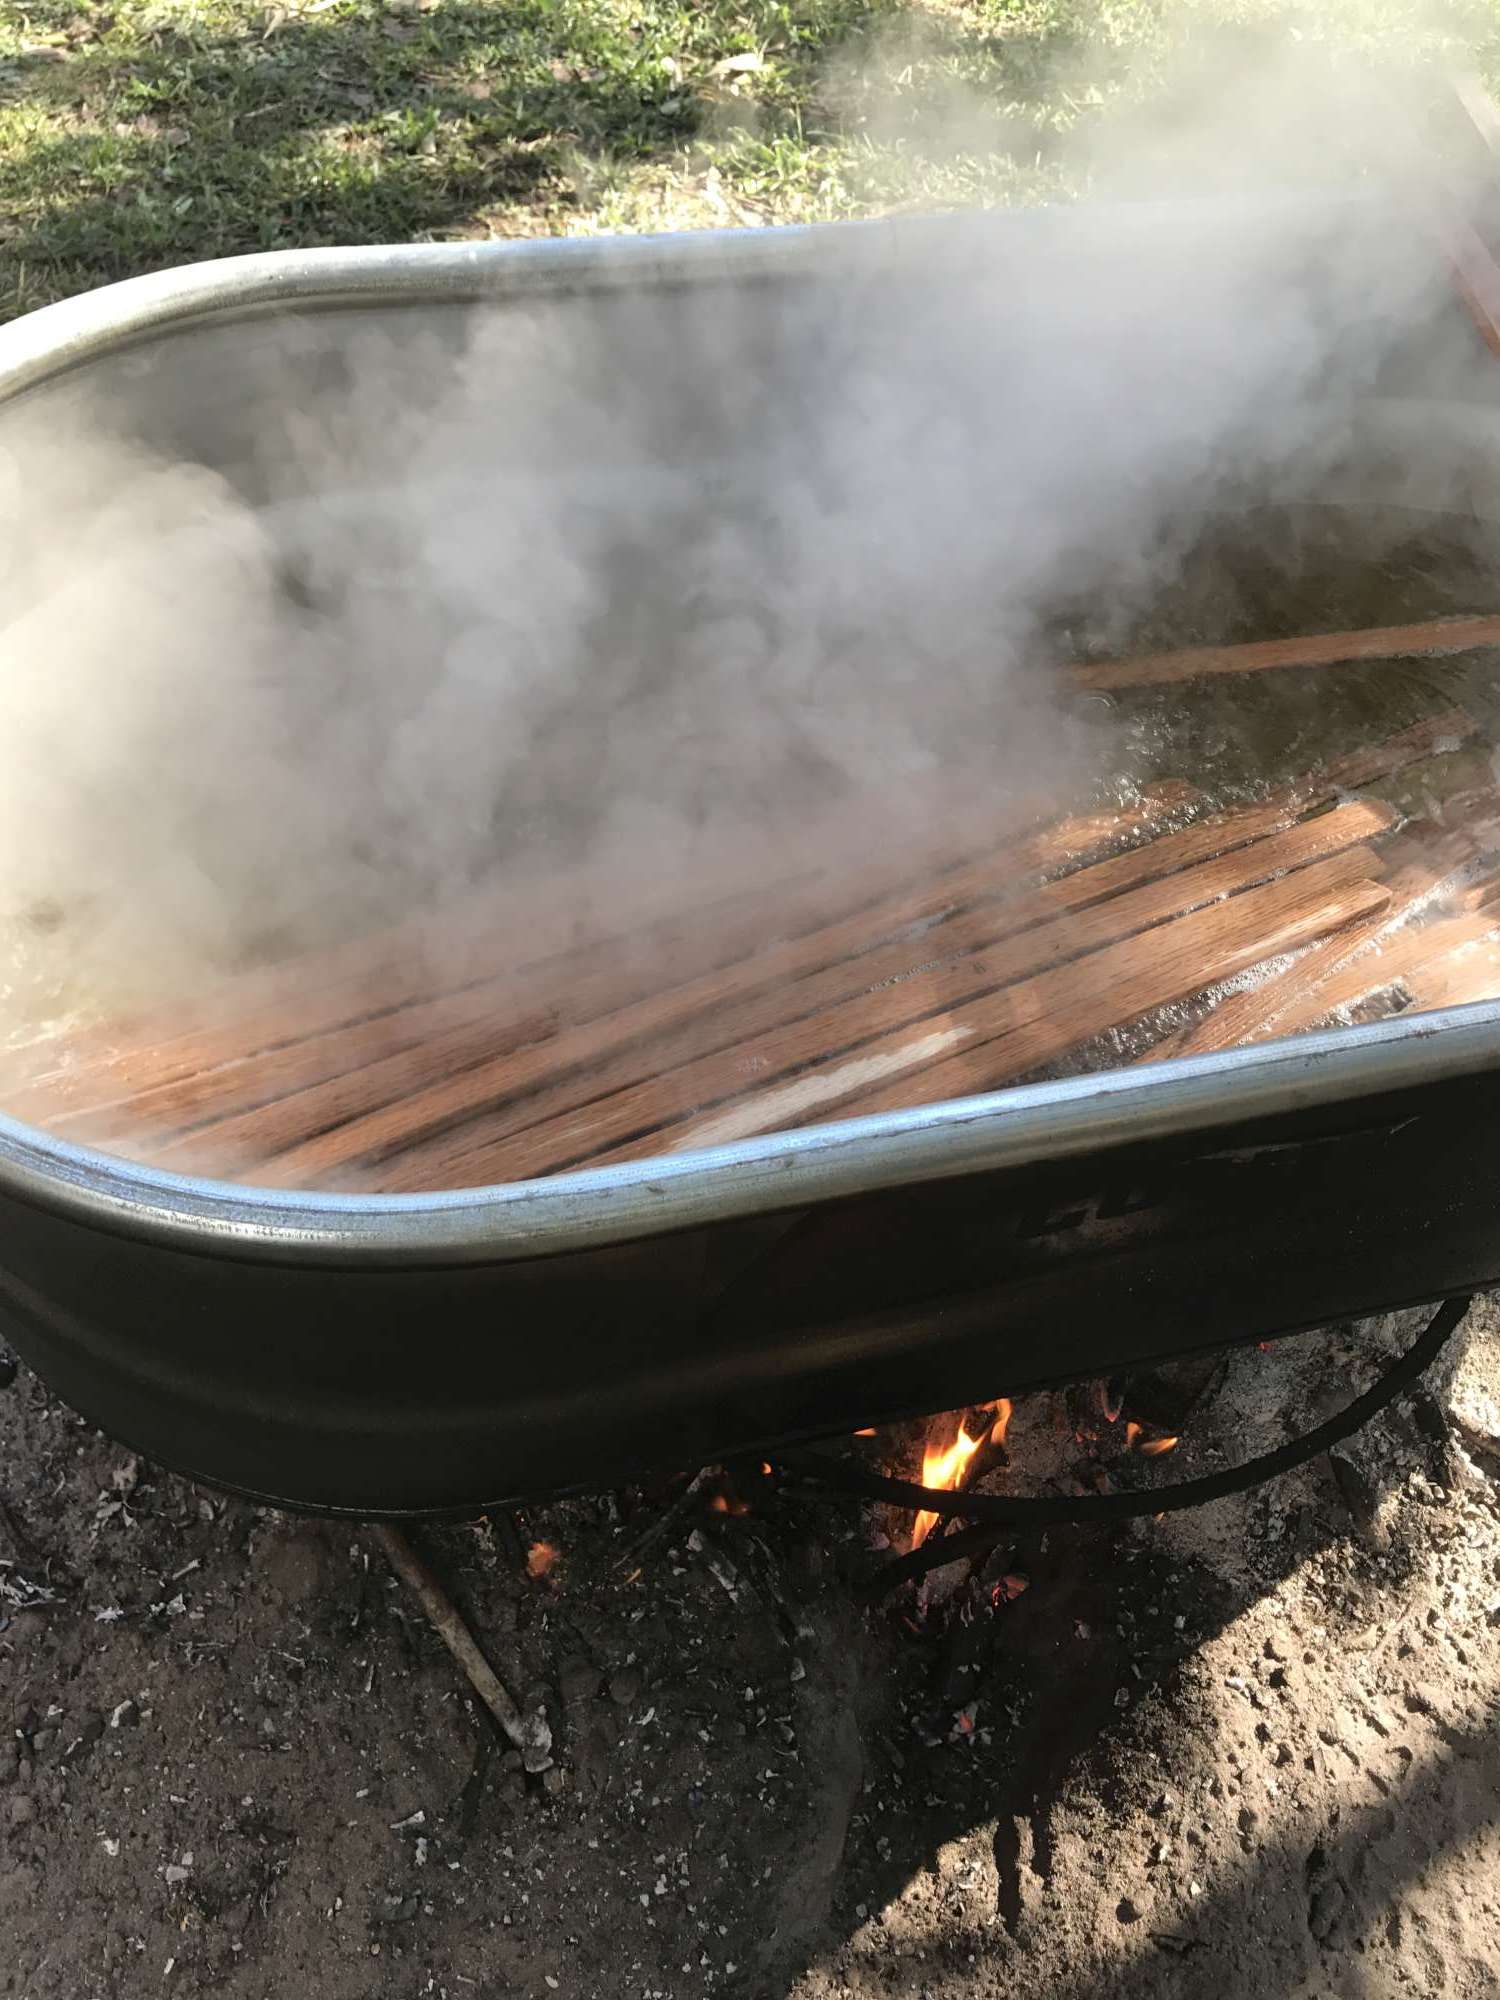
We actually found that boiling for too long dried out the wood...

Clay pots were used to hold down the ribs while they soaked and boiled.

The frame ready for the ribs!

The ribs bent and in place in the frame! Now they have to dry!
At this point, the kayak is ready for the next steps, lashing the stringers to the ribs, making the masik, and coating the whole frame in tung oil. I forgot to take pictures of this step in the process but the finished frame is beautiful!

The lashing is done with artificial sinew, a very strong material. You can see the different types of wood used for the different parts and purposes.

Not quite ready to be put in the water, but it is coated in tung oil (it absorbs into the wood) and the kayak is ready to be covered with fabric!
On to the next step in the process-- Skinning the Kayak!